
Shop Fitting
A guide for shop staff fitting an Intuition liner.
Important
The following steps are intended as a general guide for shop staff, to assist you in the service of fitting an Intuition liner. Please read them fully before you start the fitting process.
Download SHOP FIT instructions Here
What you will need

- Intuition Fit Kit: fit stockings and rubber toe caps
- Intuition / K-Tech heat tube machine
- Intuition Toe Riser
- The customer’s boot shells, footbeds and orthotics
How to fit a customer
-
Ask questions and take notes
Begin with a few direct questions to identify the customer’s boot-related issues. Ask about any problems they are experiencing, such as: cold feet, loose fit, blisters, pain points, etc.
Take note of the customer’s main concerns and consider how a new liner will address them.
-
Explain the process
Inform the customer on what to expect during the fitting process, which will take approximately an hour, and will conclude with a fitted liner and perhaps 1-2 custom adjustments.
Explain that heat molding will contour the foam and relieve pressure points but will not expand to get any tighter. Therefore, a secure test fit must be confirmed before beginning molding.
Suggest that trying on liners with thin socks works best because it ensures the closest fit and maximum transfer of detail to the liner when molding.
-
Examination of feet and shells
Examine the customer’s feet and note their foot size, including any prominent features like instep height and arch stability. Determine if a footbed is necessary.
Check the shell-fit by measuring the length, and height in fingers. -1, 1-2, or 2+ fingers correspond to 9mm, 12mm, or 15mm liners in most cases.
While checking the shell-fit, also keep an eye out for significant misalignment or deviation of the foot and leg from center. For example: if an ankle is touching on one side of the shell and not the other, a dual-density liner can typically accommodate it. Intuition strongly recommends against using high-density liners in these instances until necessary alignment corrections can be made: requiring footbeds, cuff alignment, reversed wrap liners, and shell mods.
-
Try on liners
Pick out the same size liner as is marked on the shell. Tip: bring one of the stock liners with you to compare the sole length against the new liner. Ideal is the same size or slightly longer.
Make an informed choice from the shell fit on the best liner to start with. If unsure, start with a Dual Density Tongue 12mm as a midpoint of reference in downhill and touring boots. Start with 9mm in Skimo boots.
Have the customer try on liners with one foot per liner and boot, alternating between left and right options, buckling fully, and ensuring there are no gaps before molding.
Review with the customer. Their toes may be slightly tight before molding, but bunched up or curled toes suggest the liner is far too tight and can not be expected to entirely mold out.
Check with the customer for any discomfort in specific areas, noting pressure points and areas with excess bulk. Intuition Fit Foams can help compress high spots. Plan to buckle or lace these areas tighter during molding to compress the foam, making more room for the foot.
Check for looser areas. Accessories can be added after molding, but keep the accumulation of final accessories in mind as it may be a sign that a thicker liner and or different pattern would be a better starting point.
After confirming that the liner is secure and evenly fills out the shell, proceed with molding.
-
Heat liners and fit to customer
Remove footbeds and foam insoles, place them beside the customer’s feet.
Ask the customer to remove their ski socks.
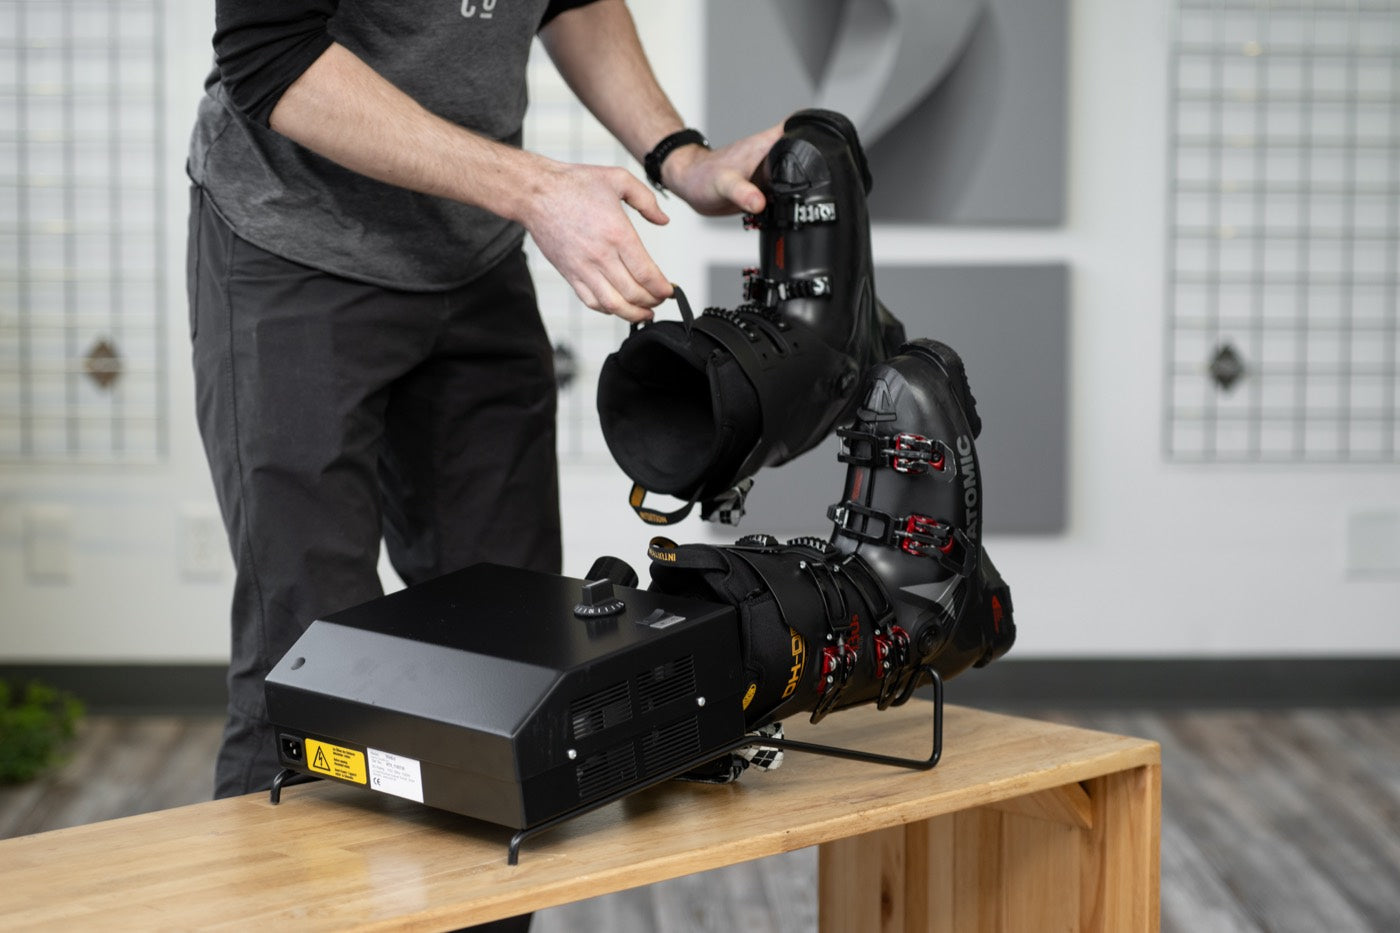
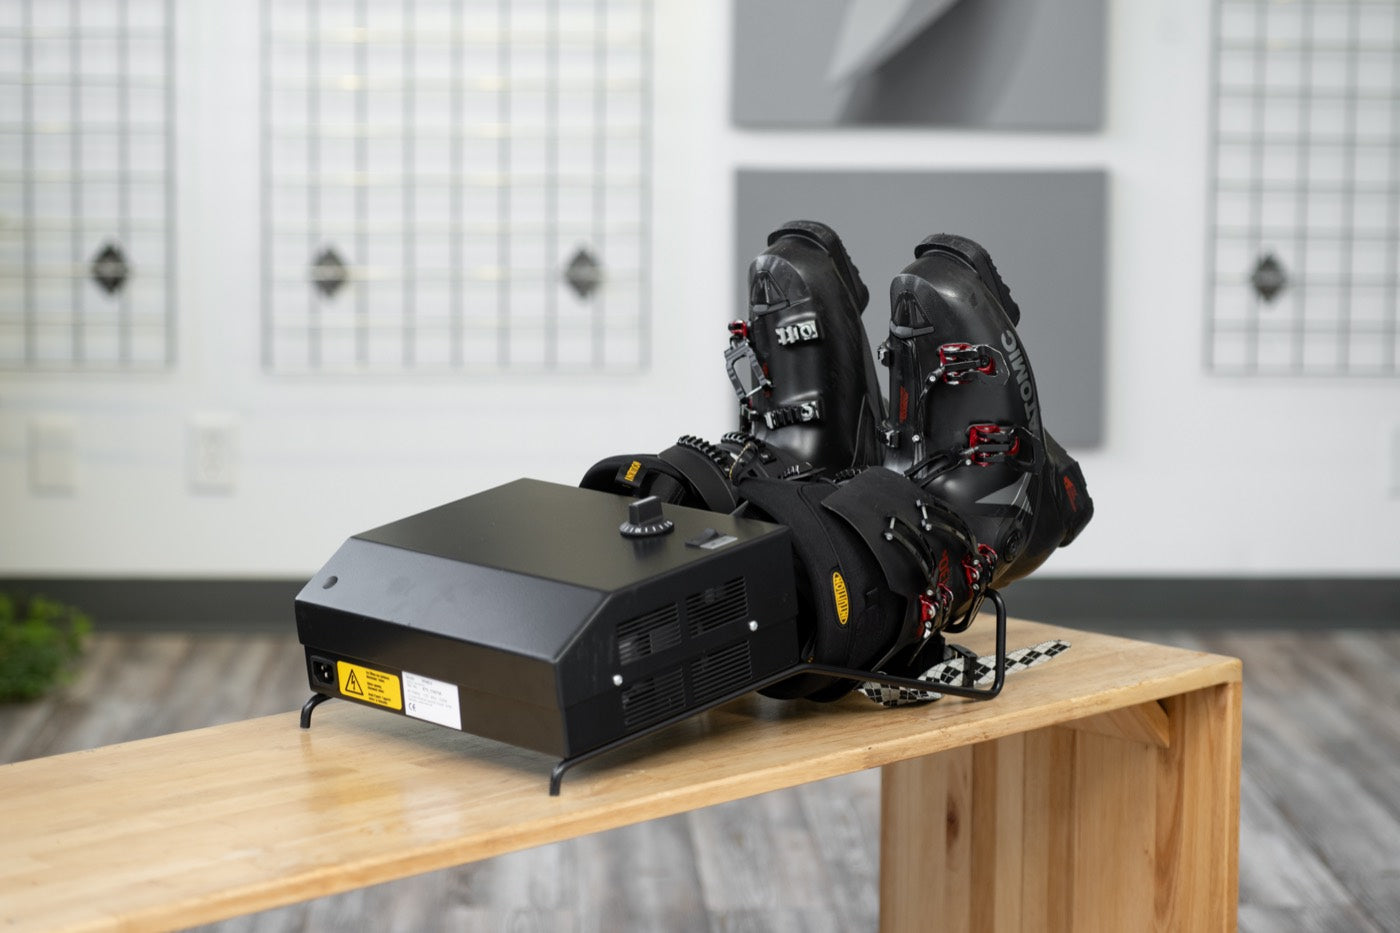
Place the boots on a heat-tube machine with the liners inside the shells. Open wrap liners to an A-frame position.
Set the appropriate time on the heating machine, staggering if desired. See the heating time chart below.
Zero all buckles to their tightest positions and adjust any ladders to fit the liner.
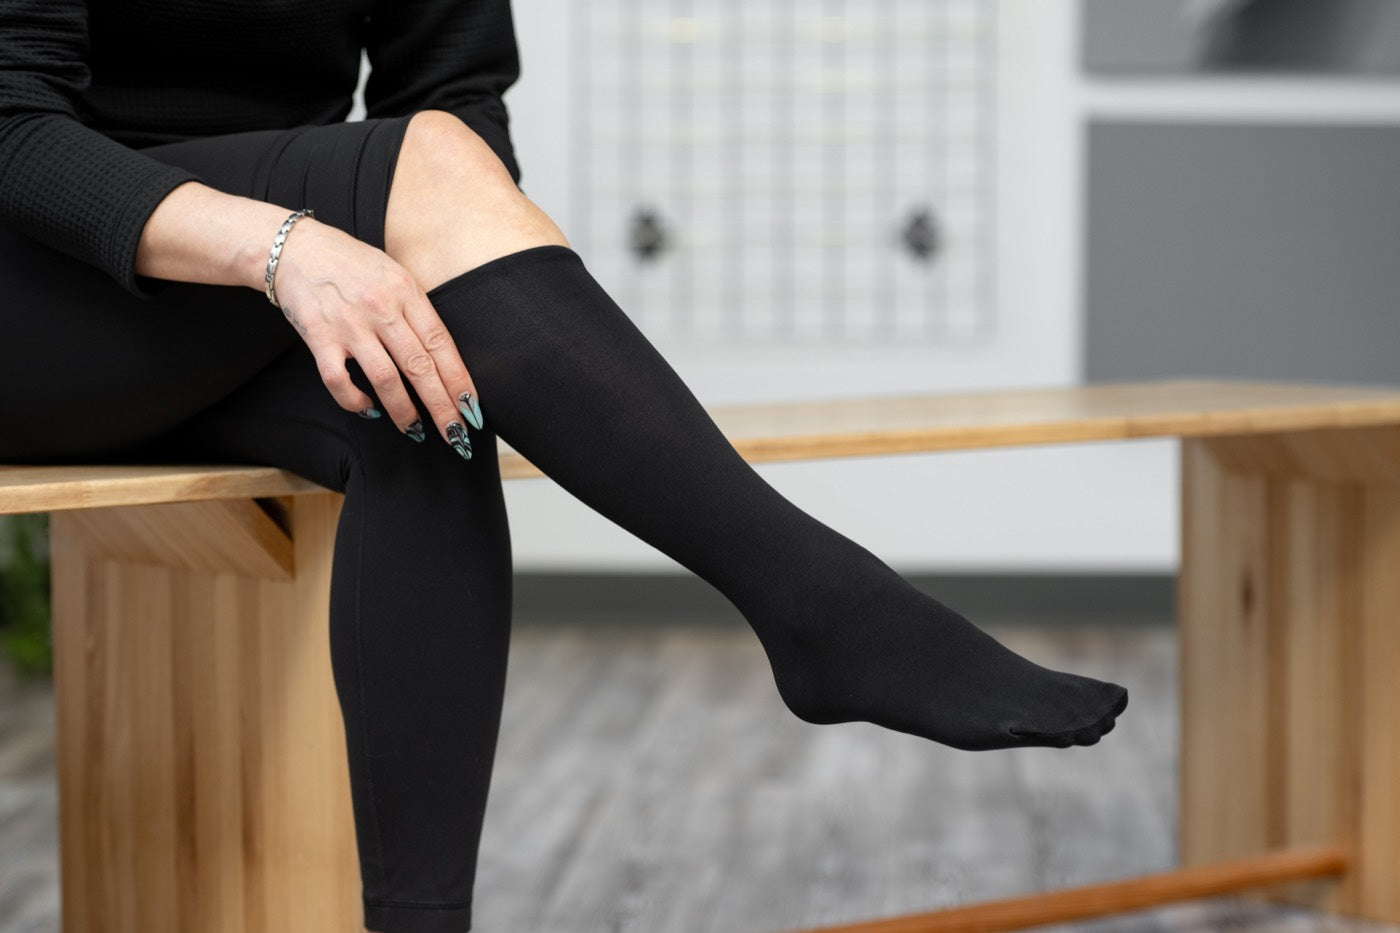
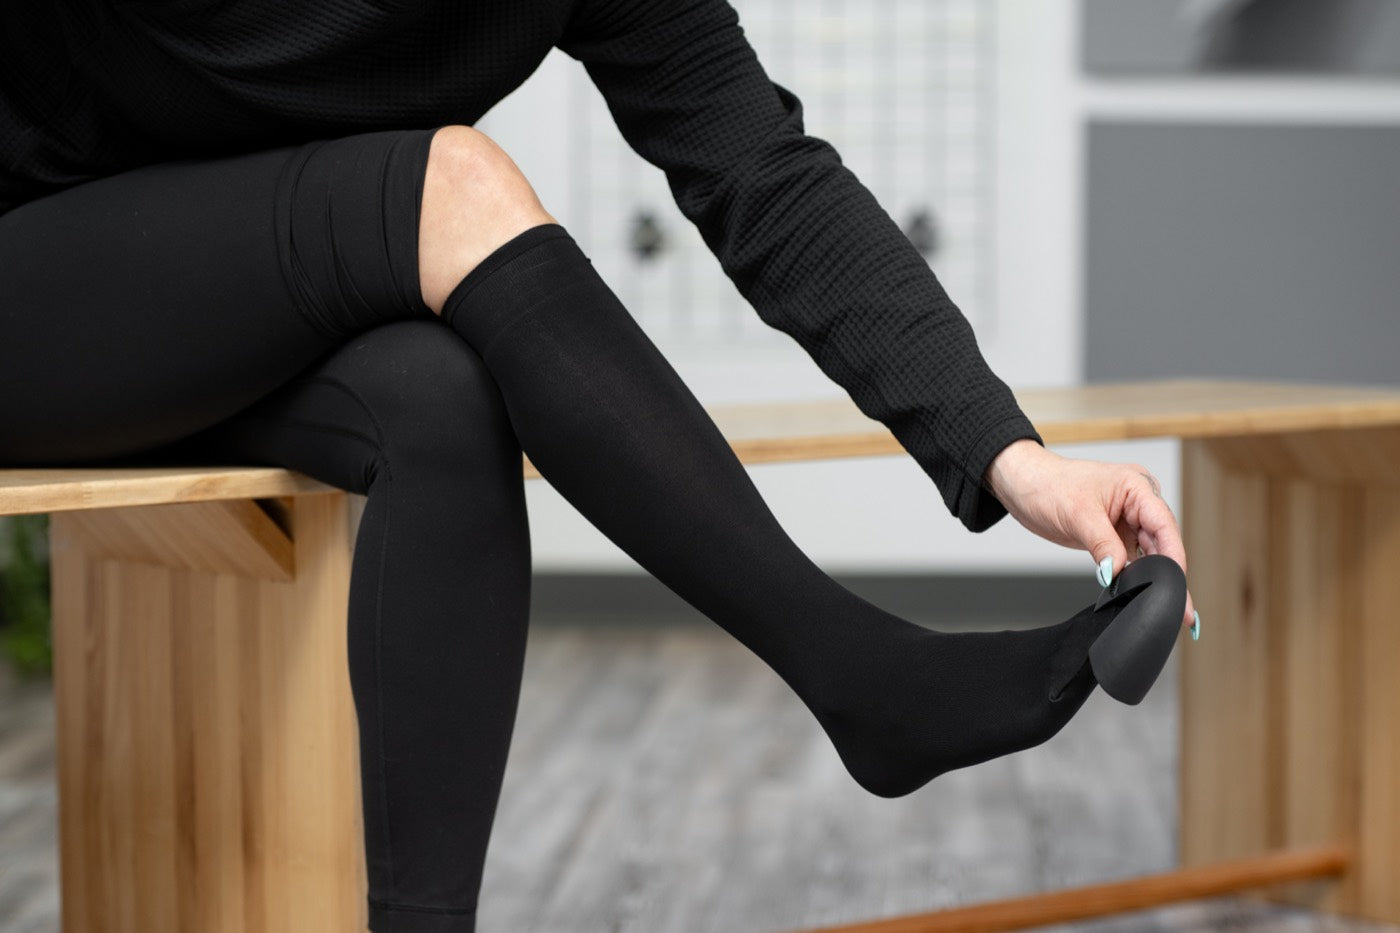
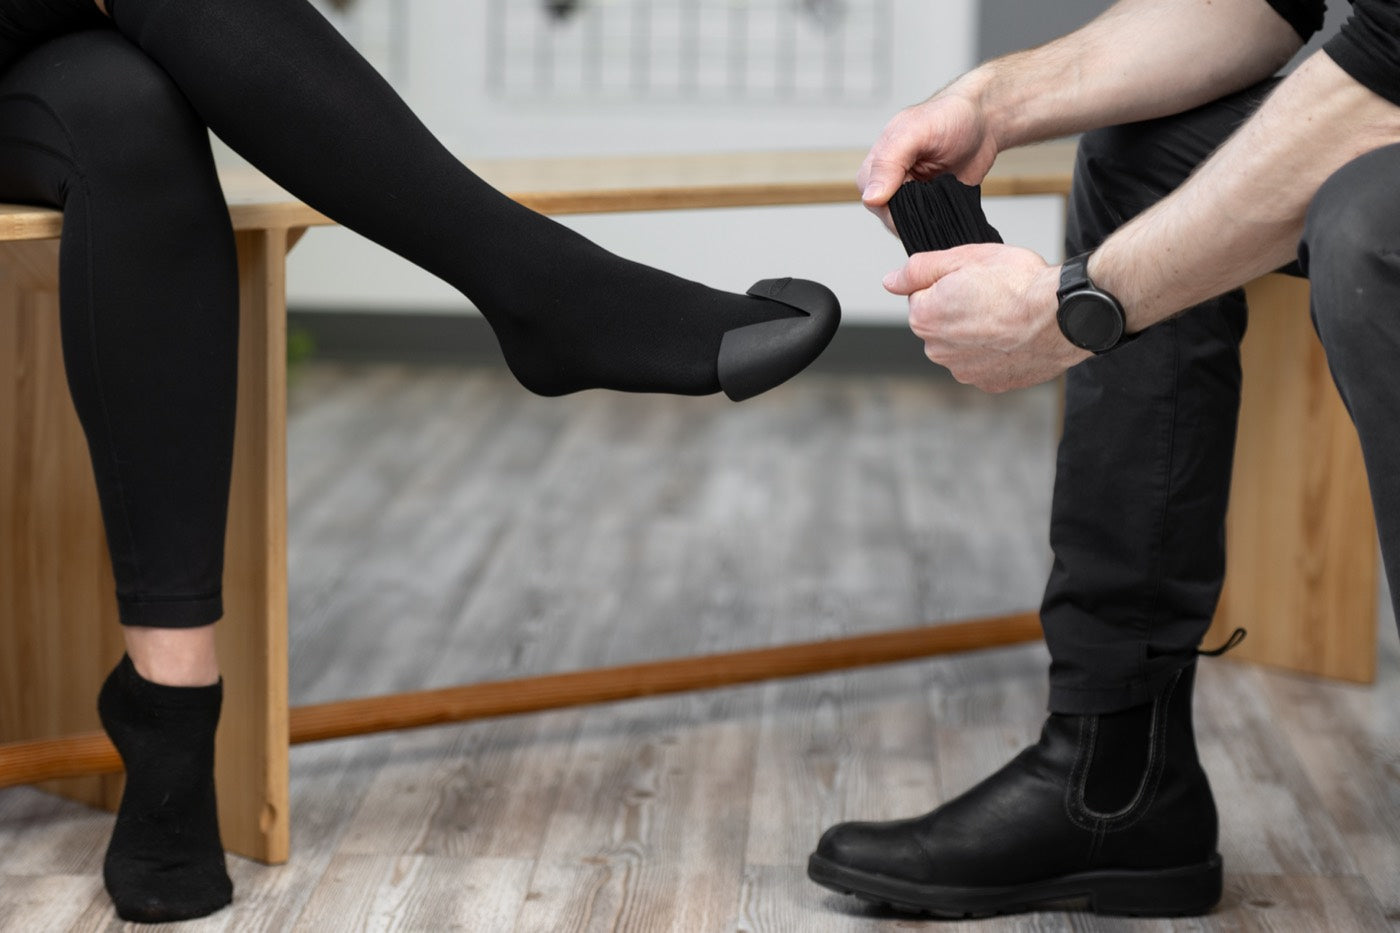
Assist the customer in putting on Intuition toe caps with the logo over the big toe, adding fit foams directly to the foot, with fit stockings overtop to secure everything.
When the timer sounds, quickly remove the liners from the boots one at a time, placing the footbeds back inside the liners, and liners back into boots. If you require more time, try staggering boots on the heater to ensure the 2nd liner does not exceed the recommended heating times.
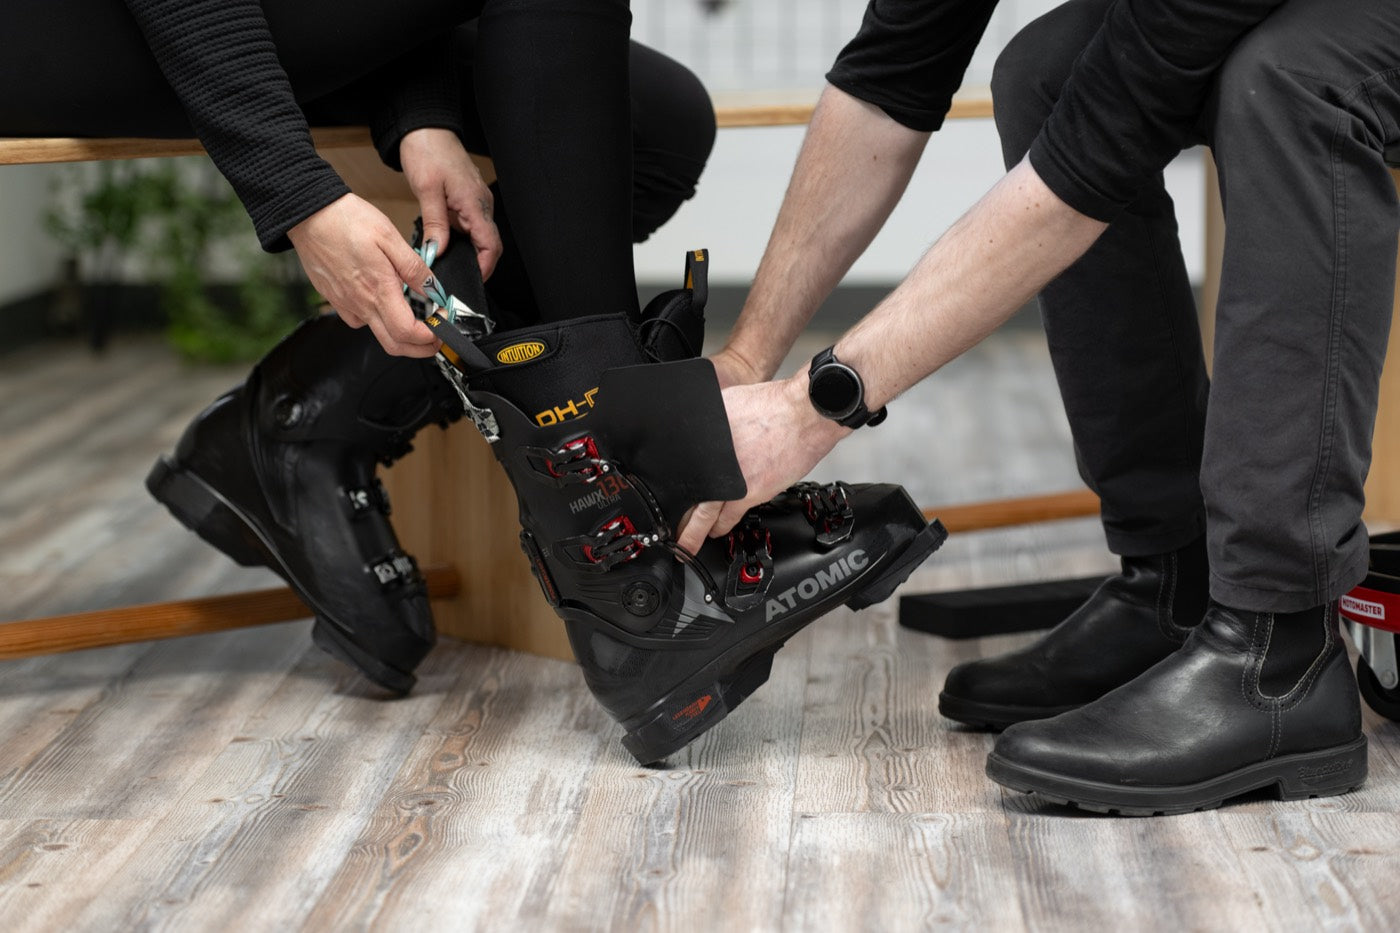
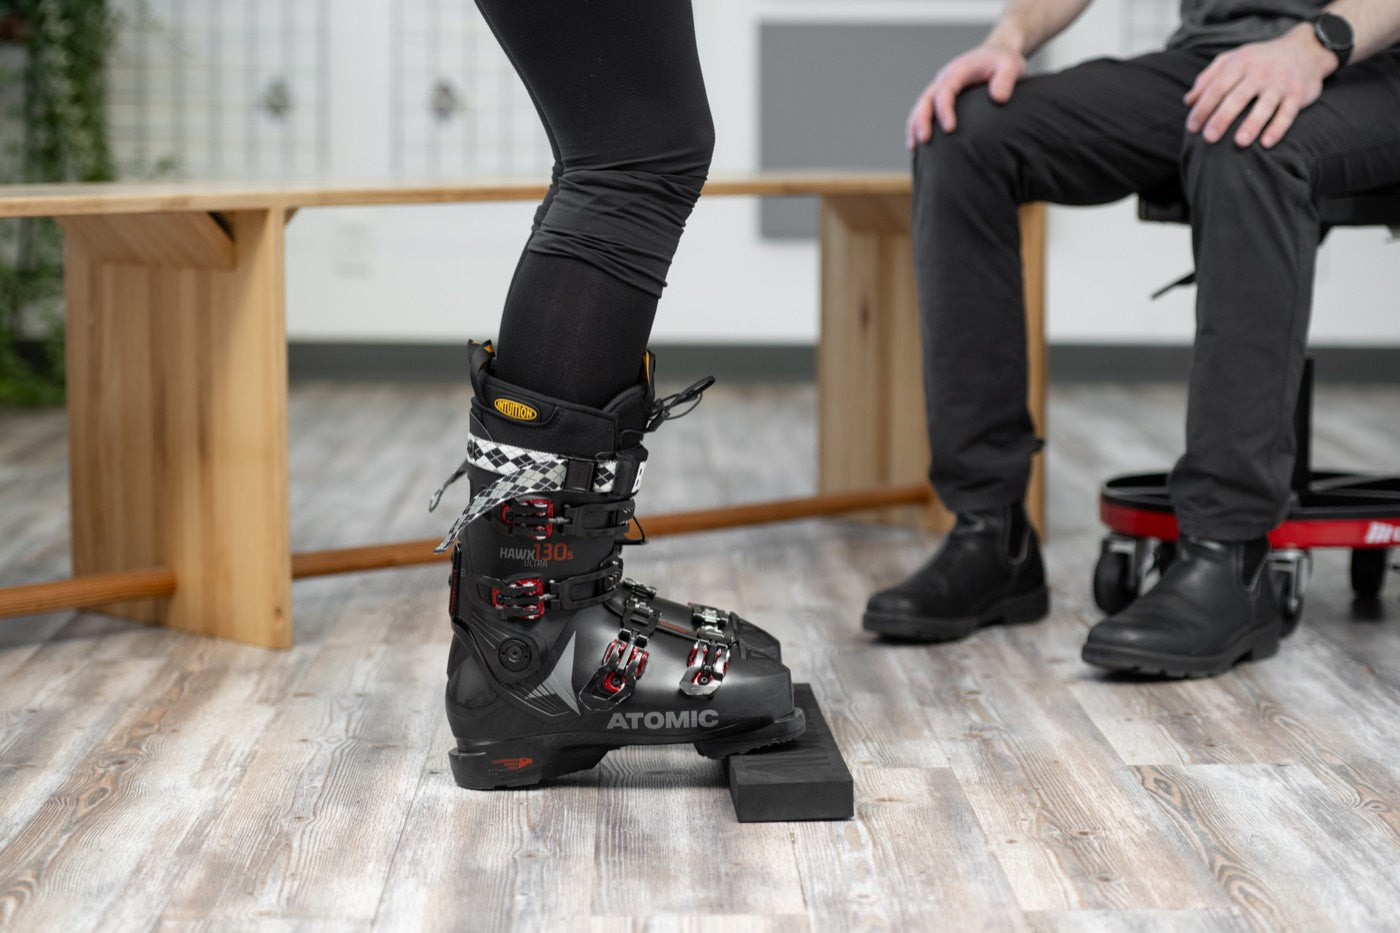
Assist the customer in putting on the assembled boots for molding. Instruct the customer to kick their heels back on the floor before standing on the Intuition Toe Riser.
Help the customer buckle the boots, aligning all components, and setting the buckles and laces to medium pressure, usually 2nd and 3rd notches based on the desired compression. Note that more compression during molding will result in less pressure after molding.
-
Cool liners, 5-10 mins
Instruct the customer to stand still and upright without flexing the boots.
After the liners have cooled, remove the boots from the customer’s feet.
Take off the toe caps and stockings, allowing the customer to rest their feet.
-
Try on molded boots
Have the customer try on the molded boots with regular ski socks to assess fit.
-
Proceed with customization
Add accessories but do not heat: 4mm shim insoles, shin pads and spoilers.
If necessary, the liner may be punched in problem areas using a heat gun and back-knobber, gently warming and holding pressure as the liner cools.
C and L heel pads are adhered to the outsides of liners and further secured with duct tape.
-
Give follow up instructions
Advise the customer that a break-in period of a few ski days should be expected and will result in improved comfort, but if discomfort increases they should return for adjustments.
Heat tube machine
Step 1: Heat Setting. Switch to setting II for heating Intuition liners.
Step 2: Timer. Set the timer using the plastic dial on top of the machine console. The time range is 0-15 minutes, but recommended time is 4-15 minutes depending on liner model. See the heating time chart. When the timer sounds, the heater will shut off.
Shops located at higher altitudes (over 3,000 ft / 10,000 ft) may require longer heating times for optimum fitting results.
- Do not put wet liners on the heat tube machine.
- Heat tube machines should not be used as boot dryers.
See additional information provided by the manufacturer (K-Tech).
For repair or replacement contact your supplier.
See warranty information provided at time of purchase.
Heating time chart
| Model | Minutes |
|---|---|
| Downhill Tongue-DD9 | 5-7 min. |
| Downhill Tongue-DD12 | 7-9 min. |
| Downhill Tongue-DD15 | 9-11 min. |
| Downhill Tongue-HD9 | 7-9 min. |
| Downhill Tongue-HD12 | 10-12 min. |
| Downhill Wrap-HD9 | 7-9 min. |
| Downhill Wrap-HD12 | 10-12 min. |
| Downhill Wrap-HD15 | 13-15 min. |
| Tour Tongue-DD9 | 5-7 min. |
| Tour Tongue-DD12 | 7-9 min. |
| Tour Tongue-DD15 | 9-11 min. |
| Tour Wrap-DD9 | 5-7 min. |
| Tour Wrap-DD12 | 7-9 min. |
| Mtn Tongue-DD12 | 7-9 min. |
| Mtn Wrap-DD12 | 7-9 min. |
| -F/C Tongue-LD12 | 4-6 min. |
| Skate Premium | 5-7 min. |
| H20 | 6-8 min. |
Classic liners
| Model | Minutes |
|---|---|
| Alpine | 8-10 |
| Godiva | 8-10 |
| Universal | 6-8 |
| Denali | 6-8 |
| Power Wrap | 10-12 |
| Power Wrap+ | 10-12 |
| Pro Wrap | 10-12 |
| Plug | 8-10 |
| SBC Wrap | 10-12 |
| Dreamliner | 4-6 |
| Classic HD | 4-6 |
| Classic RD | 6-8 |
| Classic FX | 4-6 |
| Pro Tongue | 10-12 |
| Mukluk | 4-6 |
| Logan | 6-8 |
| Aqua | 6-8 |
| Skate V2 | 6-8 |
| Luxury | 8-10 |
| Mini Luxury | 2-4 |
| Pro Tour | 6-8 |
| Tour Wrap | 6-8 |
| HD Race | 8-10 |
| Plug Race | 6-8 |
| FX Race | 6-8 |
| Junior Race | 2-4 |
All recommended times are for the Intuition / K-Tech Heater on Setting II, or the rice method.
Intuition does not recommend or warranty our liners when heated in ovens.